Fabrication
3D Printing
Turn a drawing on screen into something you can hold.
Unlike carving wood or molding clay, a 3D printer builds objects by adding material layer by layer, starting from the bottom and working its way up. In this Tech Crest you will learn how 3D printers work, how to use them, and how to troubleshoot common printing problems.
Requirements
What you'll do
Some requirements are independent; others you'll do with your trainer. Check off items as you go — your progress is saved in this browser.
Your progress
0%
0 of 17 requirements complete
Safety
0 / 1
-
1. Explain risks in working with a 3D printer. What parts of the printer should you avoid when the printer is on?
3D Printing Basics
0 / 4
-
2. Learn the fundamentals of 3D printing:
-
2a. Identify the following parts of a 3D printer: filament, extruder, printing bed, build plate, hot end, X axis, Y axis, Z axis.
-
2b. Explain in your own words how a 3D printer works.
-
2c. Explain what types of robot parts are appropriate and inappropriate to make on a 3D printer.
-
2d. Identify three different filament materials, explain the differences between them, and give an example of a good use for each.
Preparing a Print
0 / 5
-
3. Explain each aspect of preparing a file for printing:
-
3a. Explain how a file is prepared for printing, including what information is encoded in a CAD model, an .stl file, and G-code.
-
3b. Explain print supports and tell why a print might need supports.
-
3c. Explain the difference between a raft, brim, and skirt, and tell when it is appropriate to use each.
-
3d. Define bed adhesion and explain why it is important for a successful print.
-
3e. Define purge line and explain its importance.
Troubleshooting
0 / 1
-
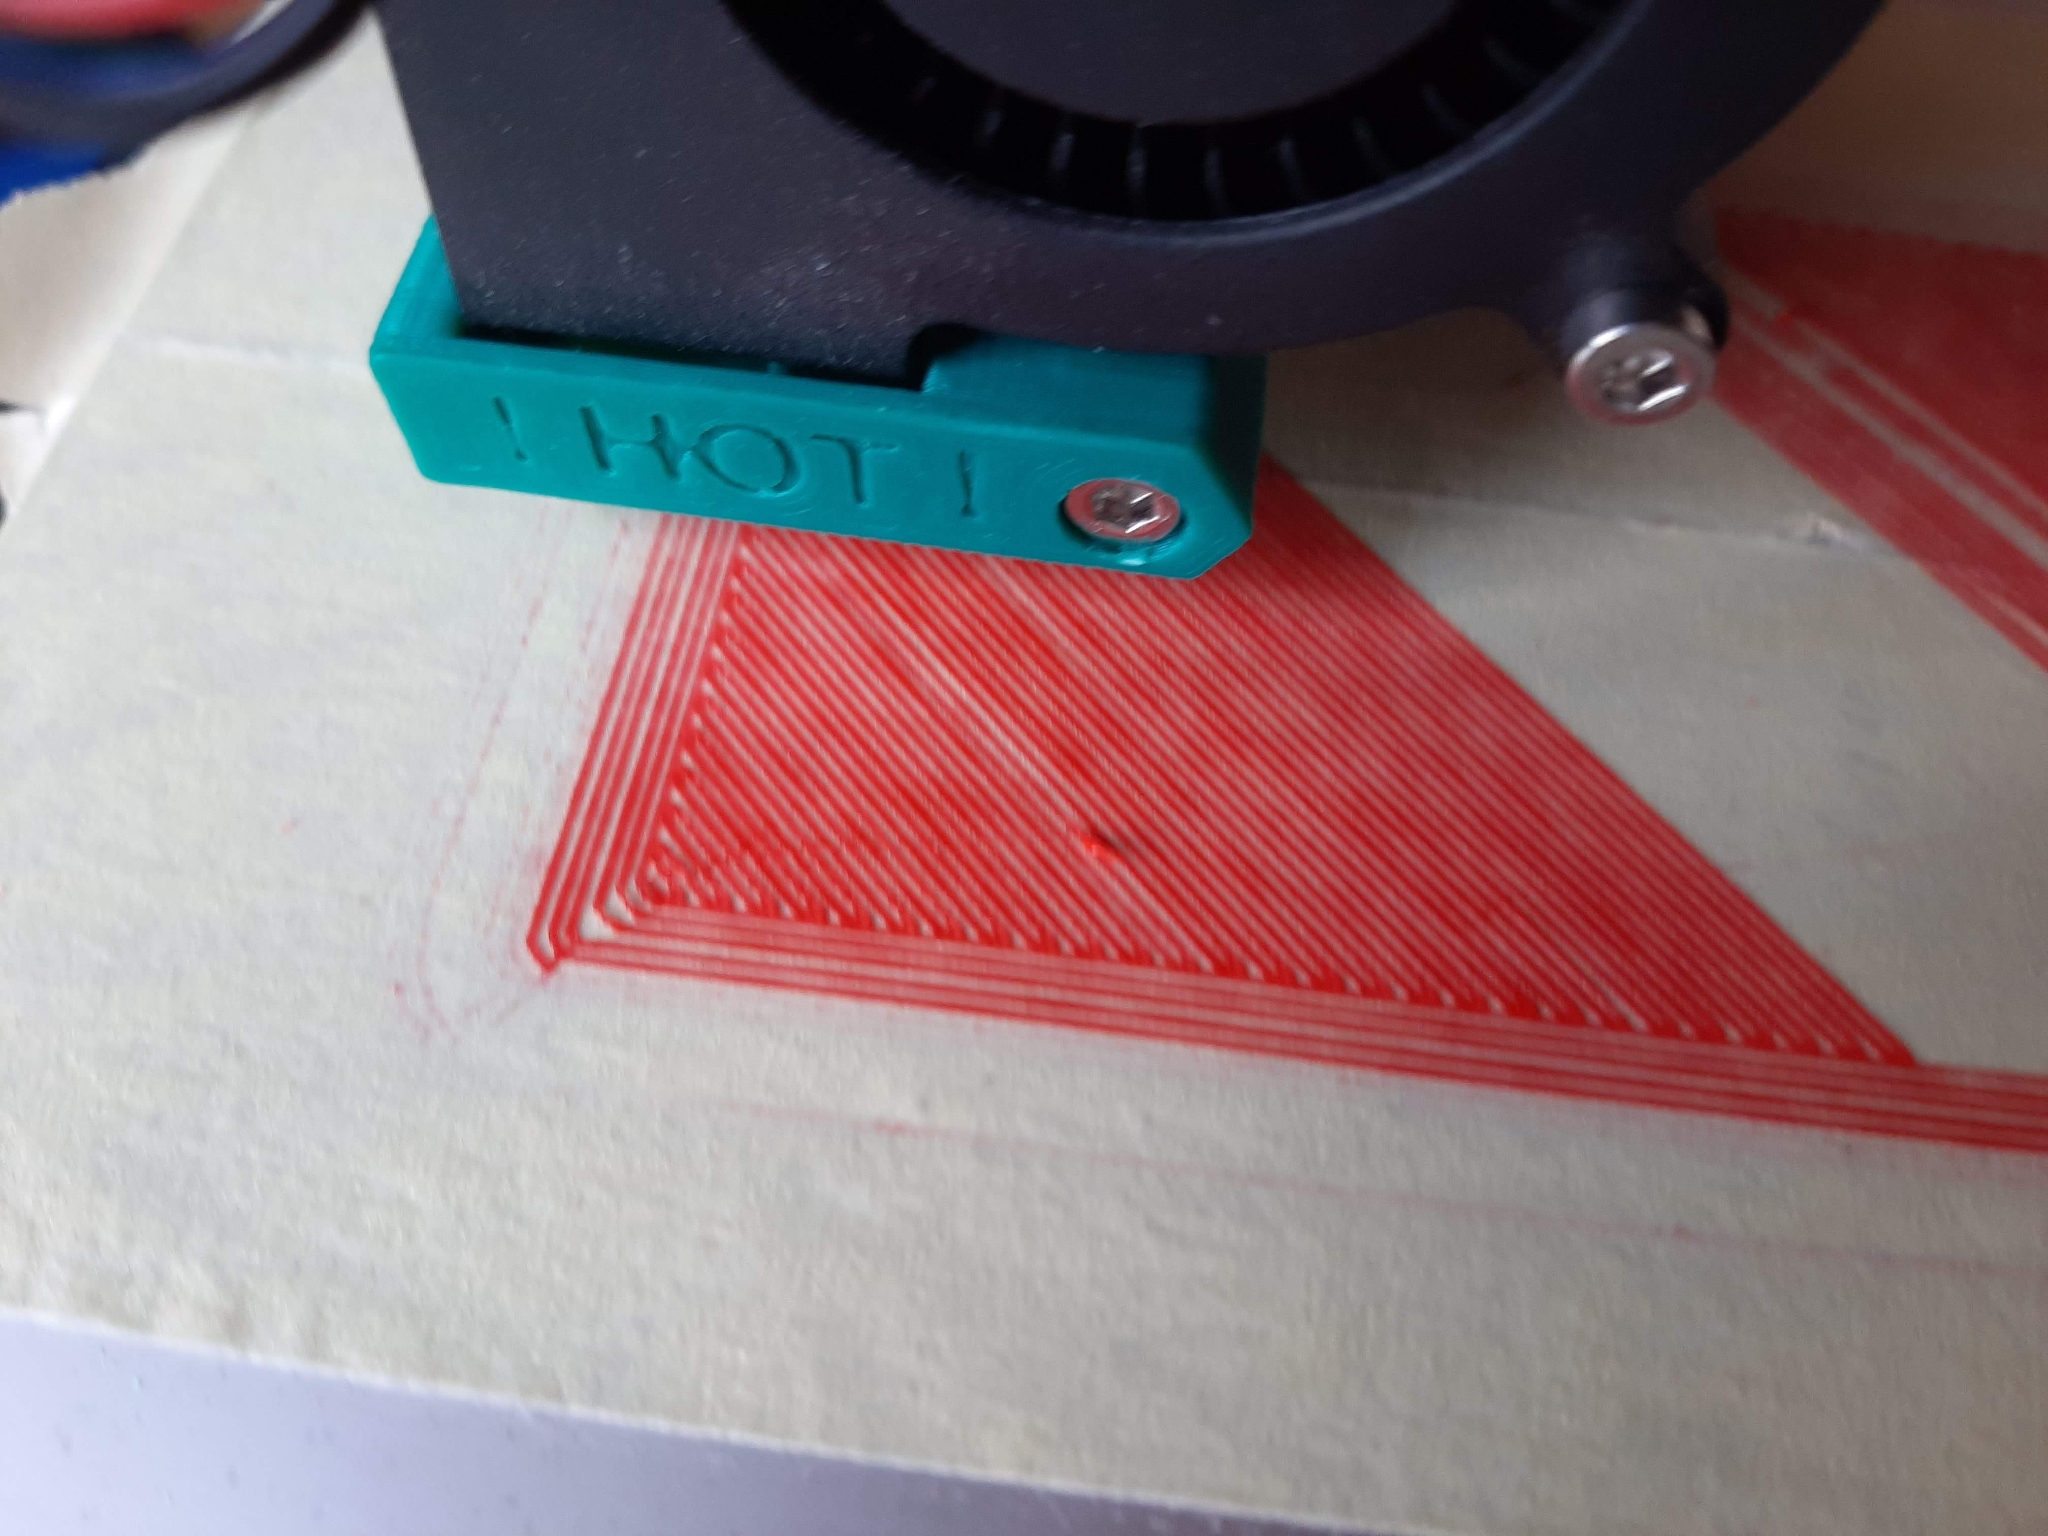
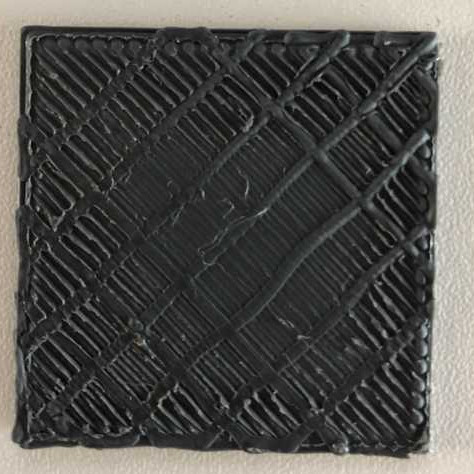
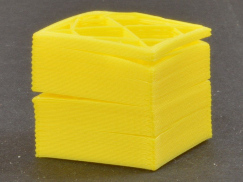
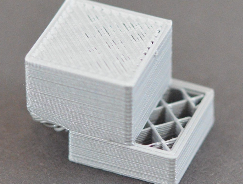
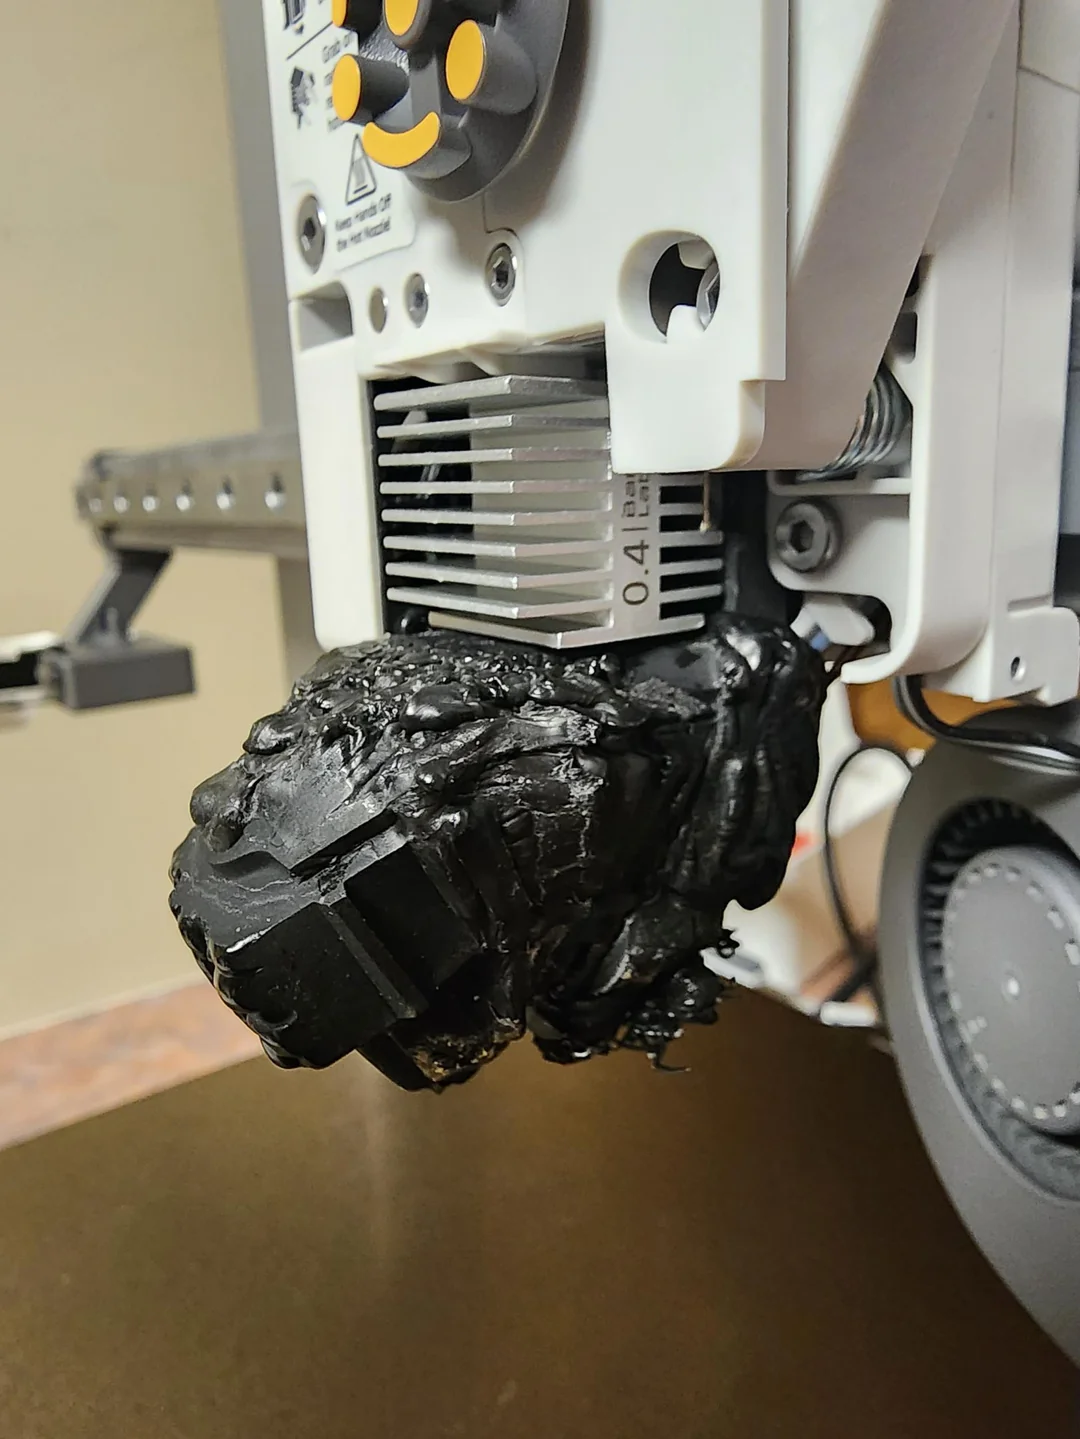
4. Match pictures to the printing issue and explain what you would do to address each: underextrusion, overextrusion, layer shift, layer separation, nozzle clog.


Demonstrate Skills
0 / 6
-
5. Design and prepare your print:
-
5a. Design a simple part to print using the CAD software of your choice (Onshape, for example) OR select a simple part to print that someone else designed (downloaded from Thingiverse or Printables, for example).↗ Onshape
-
5b. Select appropriate filament, bed texture, perimeters, top and bottom layers, infill, print orientation, and supports for your part. Justify your choices.
-
5c. Slice a file and send it to the printer.
-
6. Run your print:
-
6a. Prepare your printer by cleaning and installing the correct printer bed, performing Z-calibration, and loading the correct filament.
-
6b. Start the print and watch the completion of the first layer to make sure the print is proceeding correctly. If the print fails, troubleshoot and restart the print.
-
6c. When the print completes successfully, remove your finished part from the bed. Remove any supports or raft/brim/skirt from the part. Remove the purge line from the bed.
Ready to start?
Find your trainer. Make a plan.
A trainer is a coach, mentor, or more experienced student with content-area expertise and your coach's approval. Ask your coach to help identify an eligible trainer for 3D Printing.
Process
- 1 Identify your trainer with help from your coach
- 2 Meet to discuss your plan of work and timeline
- 3 Complete requirements; check in periodically
- 4 Present yourself for review at completion
- 5 Trainer submits the Tech Crest completion form
More in Fabrication